How to Find the Needle
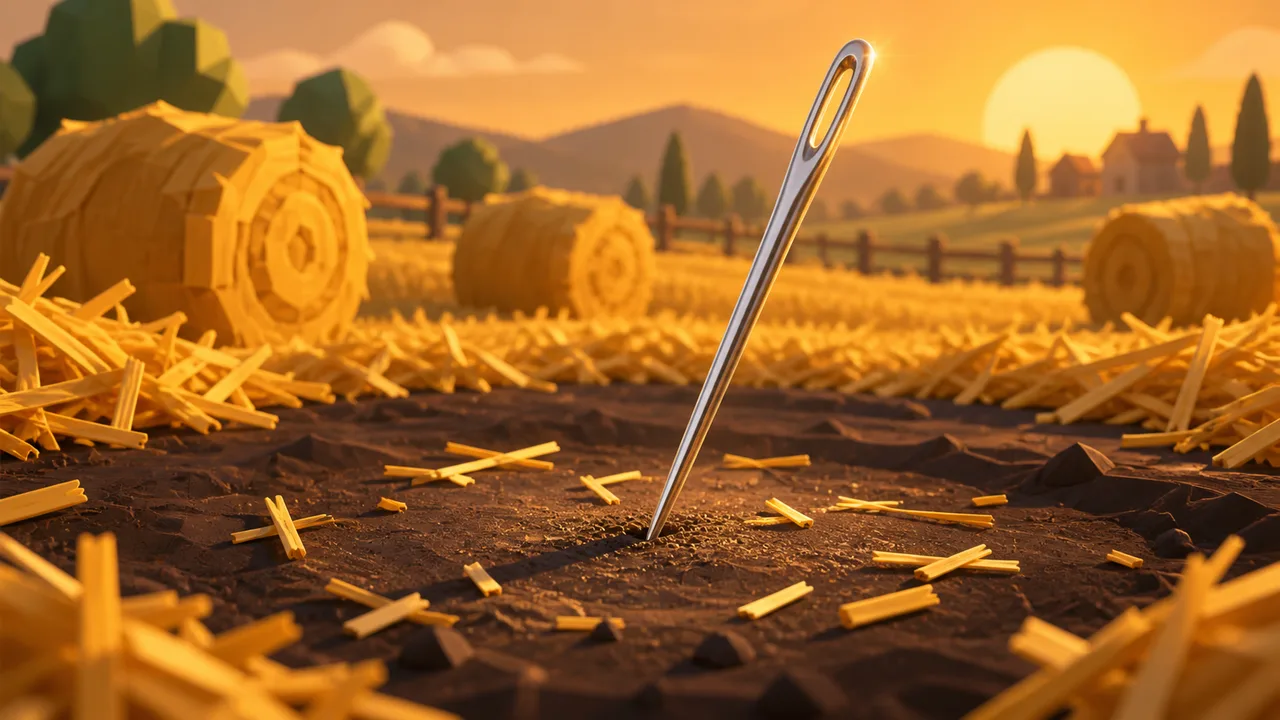
You do not find the needle — you uncover it. It only appears once the entire pile of hay has been cleared, so no search pattern, visual tell or trick can locate it early.
That makes every genuine tip a hay-clearing tip. The fastest route is Hold first, two levels each of Grasp and Speed, then save for Dynamite, then pour everything into the Pitchfork until the pile is gone.
Why there is no way to locate it early
The premise of the game is plain: clear the hay pile to find the needle. The needle becomes collectable only after the pile is gone, and clearing it awards Gems plus your completion time.
That single mechanic rules out an entire category of advice. There is no proximity sound, no glint, no heat-map of likely spots, because the needle is not placed in the world for you to stumble across — it is the reward for finishing.
Once you accept that, the question changes from where is it to how do I clear a million pieces of hay faster. Everything below answers the second question.
How many players actually manage it
Roblox's own badge data is blunt about the difficulty. The Found the Needle! badge has been awarded 3,092,594 times against 13,577,221 players who have loaded the game — roughly 22.8 percent.
So more than three quarters of everyone who has ever opened this game has never finished a single run. If you have been digging for an hour and are starting to wonder whether you are doing something wrong, you are not.
“You found the Needle, Impossible!”
— Official description of the Found the Needle! badge, written by the developers
The upgrade order that actually shortens a run
Income per run is capped, so the order you buy in decides whether you reach the end of the pile. Getting it wrong is not recoverable within the same run.
- Buy the Hold ability first. It changes how collection works rather than making it marginally faster.
- Take Grasp and Speed to at least two levels each before anything else.
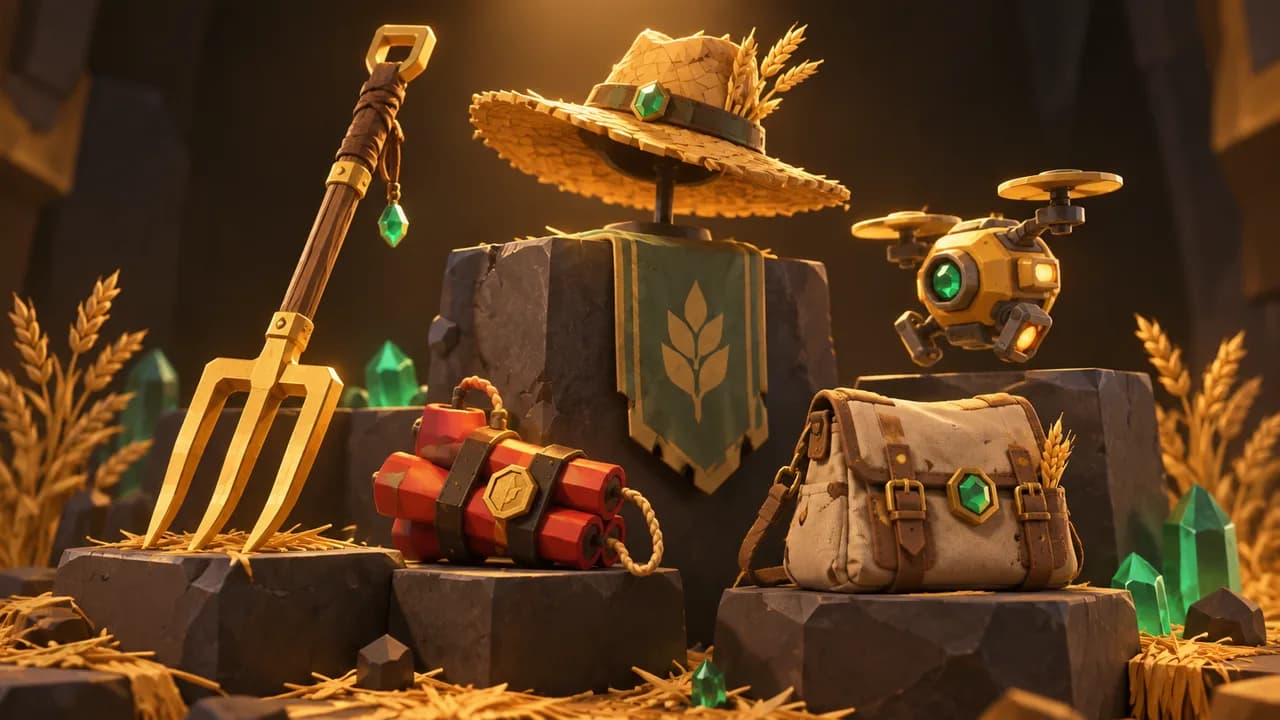
- Save for Dynamite. It clears wide areas and speeds up your income enough to reach the next tool sooner.
- Buy the Pitchfork and keep upgrading it. It is the tool you finish the run with.
Upgrade your bag in the shed as soon as you can afford it too. Each purchase is expensive and infrequent, but the early game is bottlenecked on walking back to the cow, not on picking speed.
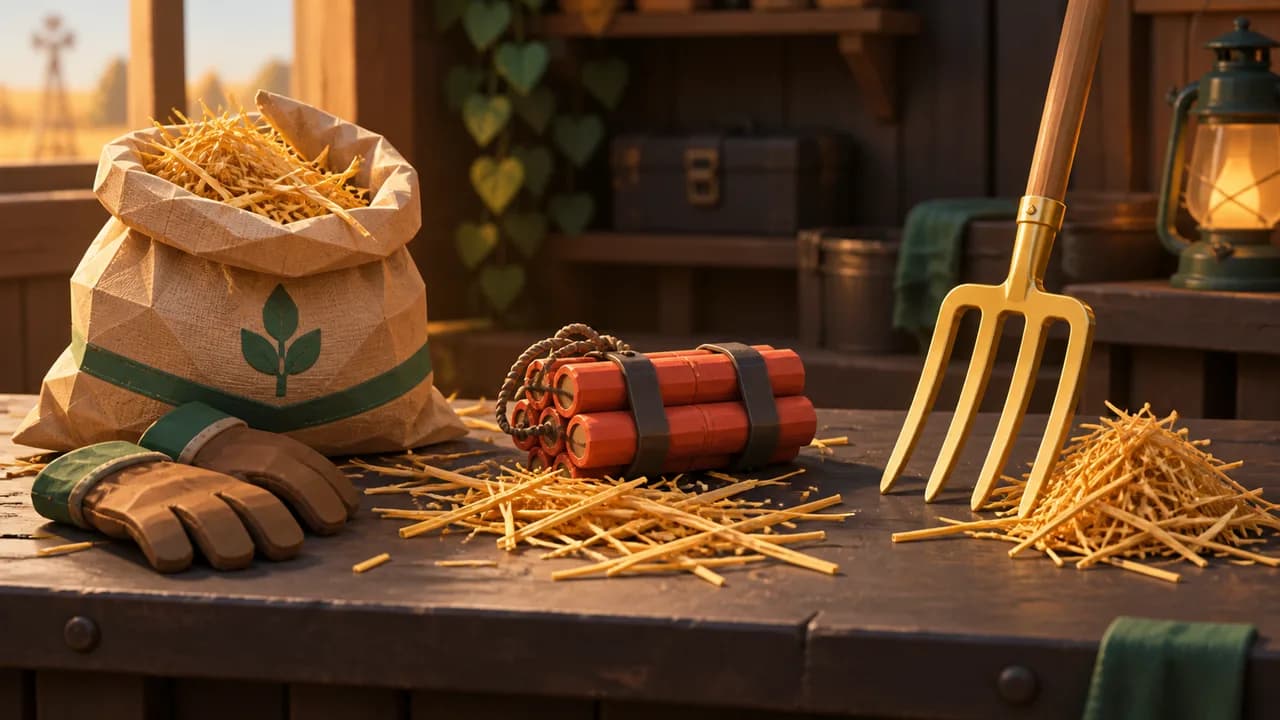
Why Dynamite is the turning point
Dynamite does not just clear faster, it clears differently. Blasted hay lands loose on the ground instead of going into your bag, which means large sections come off the pile without you making a single trip to sell.
That is why it breaks the run open. The bag-and-walk loop is the real time cost in the early game, and Dynamite is the first thing that stops that loop from being your limiting factor.
The game itself agrees with this reading. Two of the eight classes exist specifically to buff Dynamite and Pitchfork, and none buffs the Vacuum.
Free value while you dig
Some hay flakes glow in a rainbow pattern. These count as multiple flakes when collected and sell for double, so they are worth going out of your way for — they are the only free multiplier in a run.
Beyond that, the run is exactly as mechanical as it looks. Stand at a dense face of the pile, clear close to yourself, and sell often enough that cash keeps converting into upgrades rather than sitting in your bag.
Bring a class if you have one
Classes are permanent passives rolled at the Classes station in the lobby for 40 Gems a spin, and they change clear times meaningfully. Forkmaster gives Pitchfork swings 25 percent more hay and cuts Pitchfork upgrade costs by 25 percent.
Demolitionist widens Dynamite blasts by 20 percent with a 10 percent chance to split a charge into three. Pack Mule adds 50 percent bag capacity, which directly attacks the walking problem in the early game.
You do not need a rare class to finish — the default Starter can do it — but a good one turns a grind into a routine clear.
Chapter 2 changes the target
In the Chapter 2 basement the object buried in the hay is a key rather than a needle, but the mechanic is identical: dig until it surfaces.
The difference is what happens afterwards. In Chapter 2 the key alone will not let you out, because laser traps block the ladder until you have also solved the basement's three puzzles.
Sources
- Sportskeeda — Search for the Needle: A beginner's guide (3 September 2026)
- Roblox badges API — universe 10756011174 (badge description, award counts)
- Beebom — Search for the Needle Tier List (11 September 2026)