Best Upgrades Order
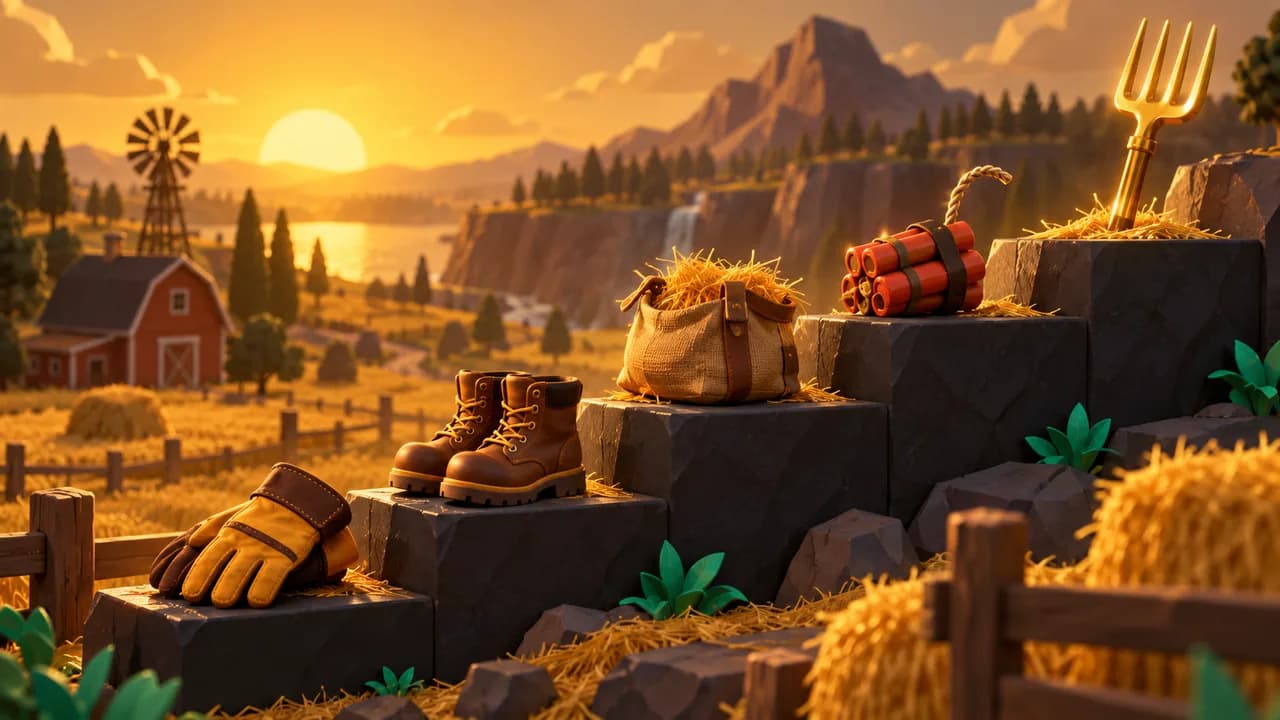
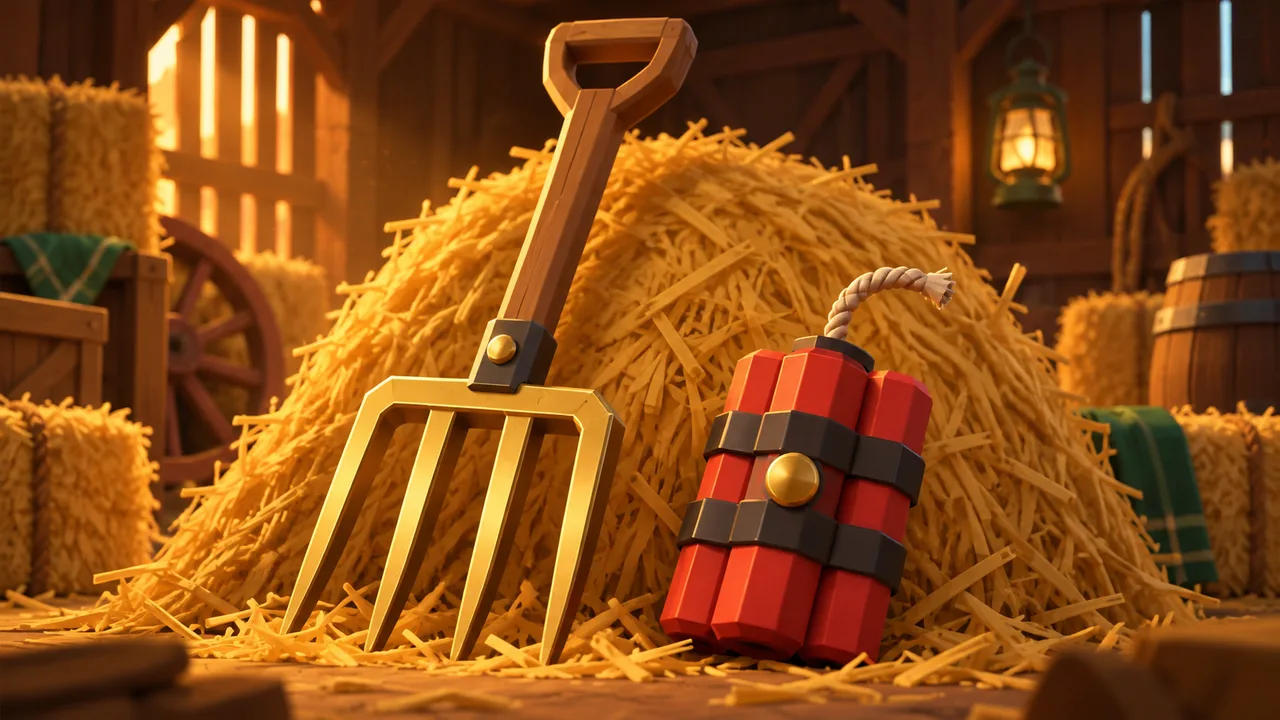
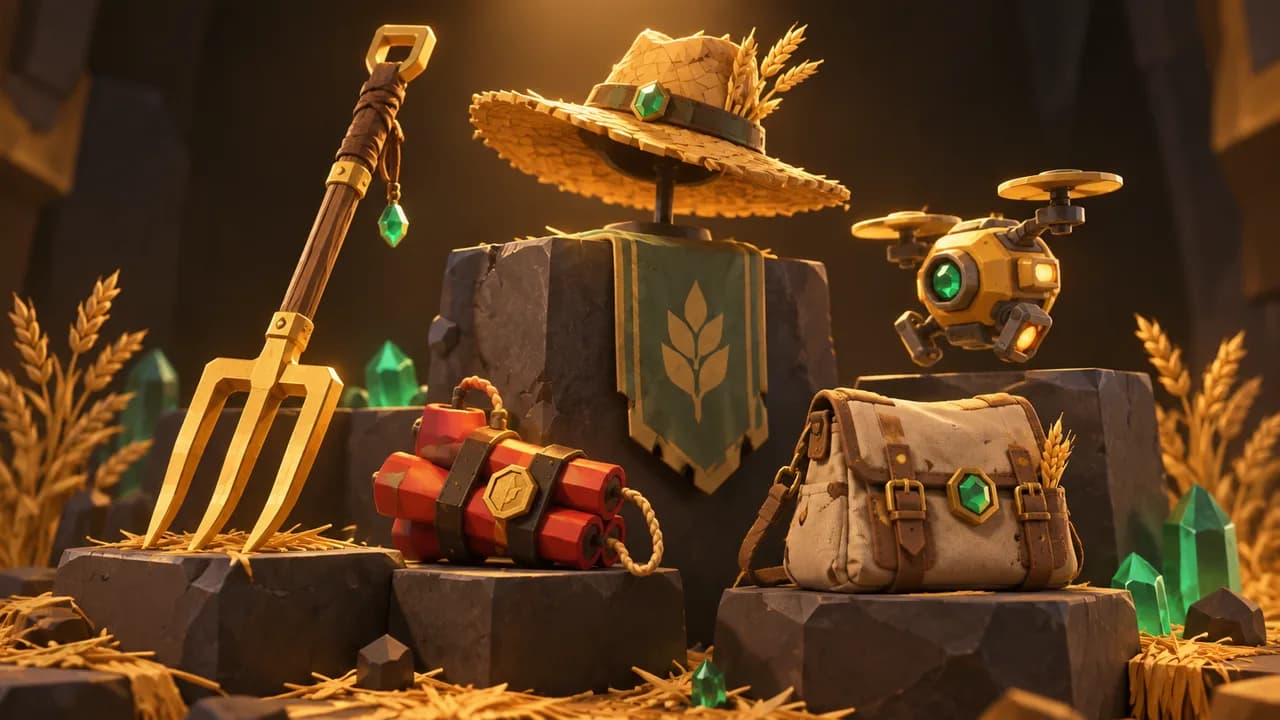
Buy Hold first, take Grasp and Speed to at least two levels each, then save for Dynamite, then buy the Pitchfork and keep upgrading it until the pile is gone.
Order matters more than in most games because the Cash you can earn in a single run is capped. Spend it in the wrong sequence and you cannot earn your way back out of the mistake mid-run.
The order, in full
| Step | Buy | Why it comes here |
|---|---|---|
| 1 | Hold | Changes how collection works rather than nudging a number |
| 2 | Grasp ×2 and Speed ×2 | The two paths that compound with everything bought later |
| 3 | Bag capacity | Cuts trips to the cow, which is the real early-game time cost |
| 4 | Dynamite | First wide-area tool; also accelerates income toward the Pitchfork |
| 5 | Pitchfork, repeatedly | The tool you actually finish the run with |
Everything after step five is just more Pitchfork. It is designed to absorb continuous investment, which is why one of the eight classes exists purely to make its upgrades cheaper.
Why order is irreversible here
Search For The Needle is classed by Roblox as an incremental simulator, and the whole genre runs on compounding. What you buy early decides the slope of everything that follows.
The specific constraint is that you can only earn a limited amount of money per run. There is no grinding your way out of a bad early purchase — Cash does not carry between runs, so a misspent early game stays misspent.
That is why this is a question people actually search. In a game with unlimited farming the order would be a preference; here it decides whether you reach the end of the pile at all.
Step 1 — Hold, before anything else
Hold is the recommended first purchase in every guide that sets an order. It changes the act of collecting rather than incrementally improving it, which is why it sits ahead of straightforward stat upgrades.
Buying stat levels before Hold is the most common early mistake, because the stat upgrades look cheaper and more immediately legible on a menu.
Step 2 — Two levels each of Grasp and Speed
Grasp and Speed are the two paths worth committing to early, and the specific recommendation is at least two levels in each rather than pushing one to the exclusion of the other.
Speed matters more than it appears because it shortens the walk to the cow. Grasp raises what each collection action is worth. Together they attack both halves of the loop.
Hand is the fourth ability alongside these, and it belongs in the same early cluster of cheap, frequently-used improvements.
Step 3 — Upgrade the bag
Bag capacity is bought by interacting with the bag in the shed. Each purchase is expensive and you will make them rarely, but the advice is unambiguous: upgrade it as soon as possible to reduce how often you have to empty it.
The reason is that the early game is picking individual flakes until the bag fills and then walking to deposit them. Every capacity increase deletes a slice of that walking from the rest of the run.
Step 4 — Dynamite is the inflection point
Dynamite is where the run changes character. It clears wide areas in one use, and it is the purchase that makes the Pitchfork reachable within the same run by accelerating your income.
The mechanical reason it is so strong is that blasted hay lands loose on the ground rather than filling your bag. That sidesteps carry capacity entirely, letting you strip large sections without the constant sell trips.
Three independent sources converge on Dynamite as the turning point, which is about as strong as agreement gets for a game this young.
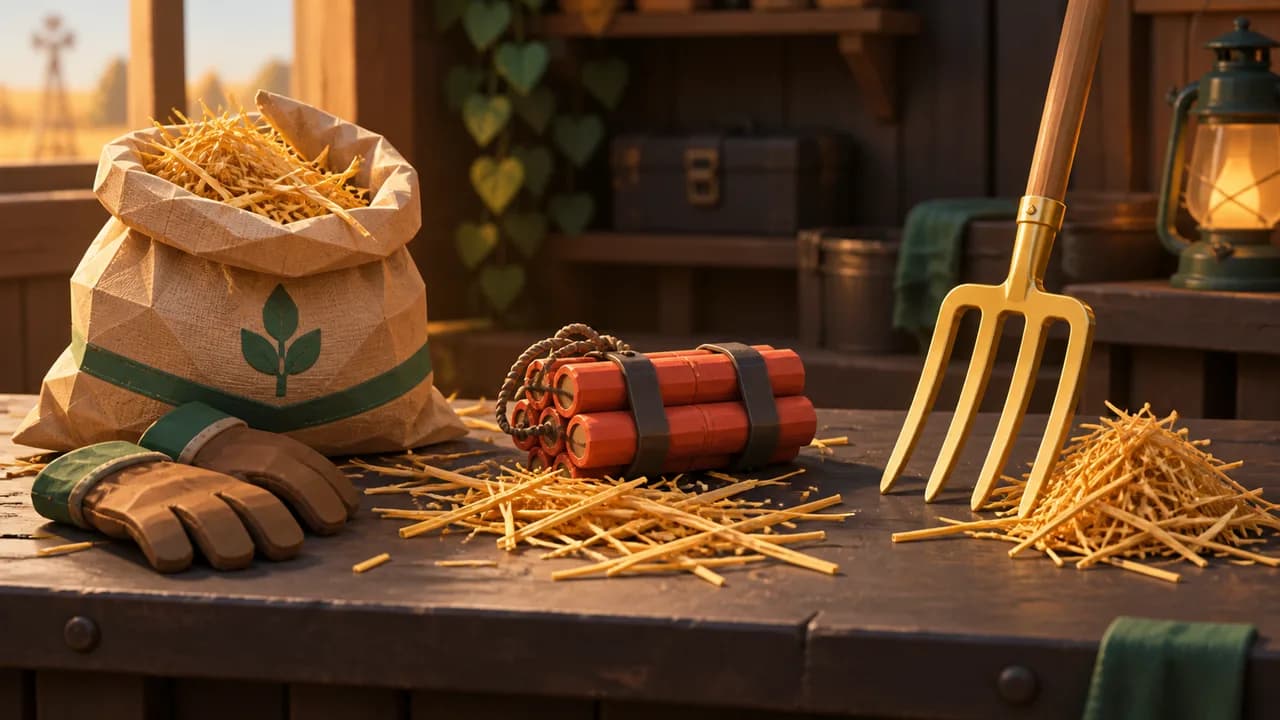
Step 5 — Pitchfork to the finish
After Dynamite, the guidance is to buy the Pitchfork and then keep upgrading it until you clear the game. It is the endgame tool and it is built to keep absorbing Cash.
Forkmaster exists to support exactly this: it makes Pitchfork swings collect 25 percent more hay and cuts Pitchfork upgrade costs by 25 percent. A class built around making one tool cheaper to upgrade tells you that tool is meant to be upgraded a lot.
Where the Vacuum fits
The one objective tiebreaker available is class design: one class buffs the Pitchfork, one buffs Dynamite, and none buffs the Vacuum. That is a signal about intended priority, not proof.
Actual prices and per-level upgrade costs are not published anywhere we can verify, so we have not listed them. When we can confirm them in-game, they will appear here.
Why people search for this at all
Roblox badge data shows only 22.8 percent of players have ever found the needle, and the developers named that badge Impossible. Most people looking up an upgrade order are not min-maxing — they have run out of Cash with hay still on the pile.
The order above is the fix for that specific failure. It is not a speedrun route, it is the sequence that gets an ordinary run to the end of the pile.